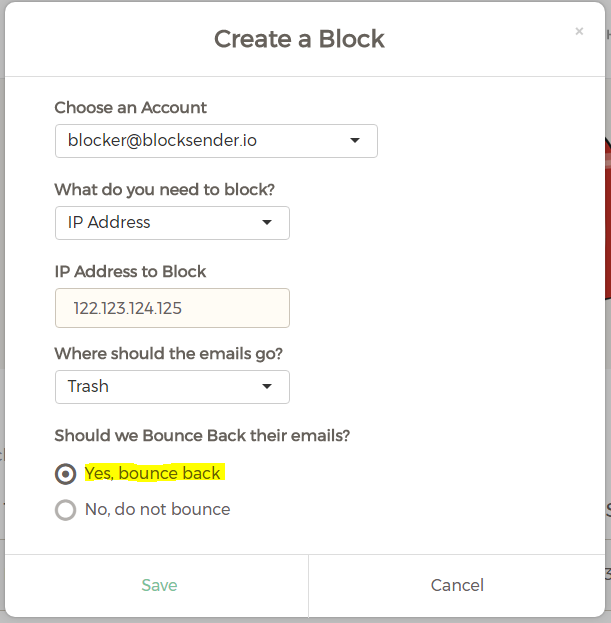
With Block Sender, you can send fake bounce-back messages, which will make the sender think your email address no longer exists. You can bounce an email when creating a new block or from an existing block in the dashboard. In order to send fake bounce-backs with Block Sender you need to upgrade your account to Plus or Pro.
To follow the instructions below and bounce back emails directly from your Gmail inbox, make sure you have installed our browser extension.
Bouncing Incoming Emails
- When creating or editing a block in the browser extension or the dashboard, choose “Yes, bounce back” under “Should we Bounce Back their emails?”

- Click Save.
With this enabled, not only will you not receive the email in your inbox, but we’ll also send the bounce-back on your behalf. You can also manually send bounce-backs for emails that you’ve already received, which we’ll show next.
Bouncing an Existing Email
If you want to bounce back an email you received before enabling this feature on your blocks, you can do so manually using our browser extension. Just follow these instructions:
- In Gmail, open the email you want to bounce
- Click the Block button at the top
- Select the “Reply with…” option
- Make sure “Fake Bounce-Back” is selected in the dropdown that pops up
- Click “Send response”
New to Block Sender? Sign up for a free account and try it today! Have questions? Feel free to reach out to [email protected] and we’d be happy to help you get started.
