Gmail aliases allow you to send and receive emails from another email address you own, all from within your primary email’s Gmail account. If you want to block/bounce emails from this alias account as well, you can configure Block Sender to do so by performing these steps:
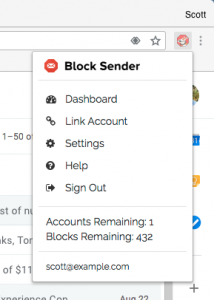
- In your Gmail account, click the Block Sender
 icon in your browser and choose Dashboard. You can also access the Dashboard via this link.
- Scroll down to Your Accounts section to see the emails already linked to your account.
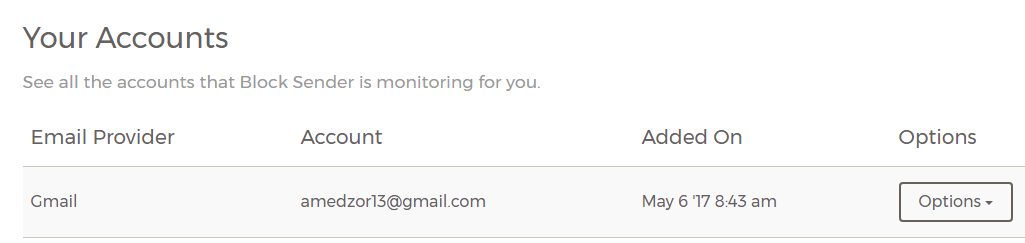
- Locate the email whose alias you want to add, click its Options button and then choose Add Alias.

- Any aliases linked to your linked email will appear in the popup. Check the box next to your alias and then click Add Aliases. Note that this section will remain blank if you don’t have any alias associated with your Gmail account.

- You’ll be alerted in the Dashboard once your alias was added successfully.
To remove your alias from Block Sender, refer to this guide.
Note: Linking an alias account will count against your account limit, so you may need to either upgrade to a Pro account to increase your limit, or you can add an Account add-on to increase your limit. Please refer to the article How to Link Additional Gmail Accounts for more info.