• Home
  • FAQs
  • Contact Us
  • Get Started
Block Sender Help
  • Home
  • FAQs
  • Contact Us
  • Get Started

How to Create a Block Sender Account

/Account /How to Create a Block Sender Account
  • May 9, 2017
  • admin
  • Account

To create a Block Sender account, we’d suggest you first need to install the extension in your browser. Although the same actions can be taken via the dashboard signup page.

  1. Log in to your Gmail account. If the Sign Up screen does not automatically pop up, then click on the mail  icon in Gmail and select Sign Up.
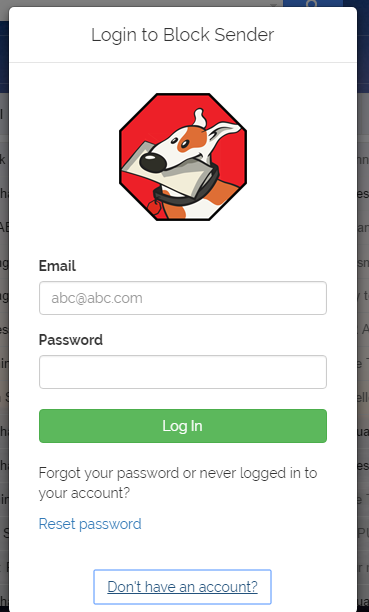
  1. Fill in the fields with your Email, Password, agree to Terms and Conditions for Block Sender and then click Sign Up.
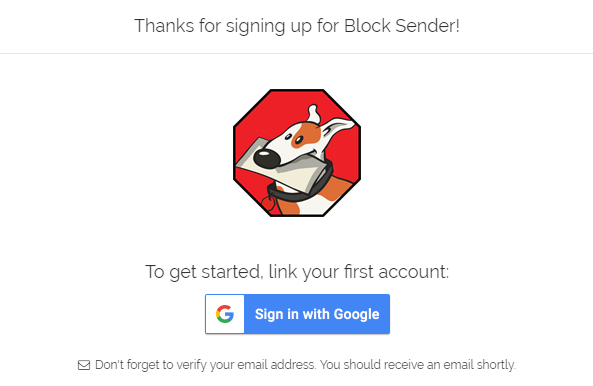
  2. Before you link your first Gmail account, be sure to verify your email address from the confirmation email which will be sent to you soon after signup.

After signing in, you’ll be taken to the dashboard, where you can login and manage your account.

Tagged: accountsignup

Related Articles

  • What to do if Your Payment Fails

  • How to Reset your Password

  • How to Link Additional Gmail Accounts

  • How to Add Additional Blocks to your Account

  • How to Change the Email Address for your Block Sender Account

  • How to Change your Password

Categories

  • Account 15
  • Blocks 14
  • Canned Responses 1
  • Email Accounts 7
  • Plugin 7
  • Uncategorized 1

Popular Articles

  • How to Bounce Back Emails
  • How to Block Emails by a Word or Phrase
  • How to Block Emails by IP Address
  • Blocked by Block Sender Canned Responses

Latest Articles

  • How to Bounce Back Emails
  • How to Block Emails by a Word or Phrase
  • Getting Started
  • Blocked by Block Sender Canned Responses
  • Home
  • FAQs
  • Contact Us
  • Get Started
© Copyright, Block Sender
Gmail is a registered trademark of Google. Block Sender is not affiliated with Google or Gmail.